To open the console command prompt in a Renpy game project, press on Shift+O.
The config console is active by default in Ren’Py 7.4+.
That should allow you to try out variables, get their values, or assign new values.
It should work with most of your Ren’Py games, but if it doesn’t, it’s probably due to a wrong configuration in your project.
Don’t worry.
This article will cover everything you need to know, steps by steps, to open the Renpy console for your own projects.
How To Open Console on Renpy?
Open the Options.rpy File
Ancient version (before Ren’Py 7.x)
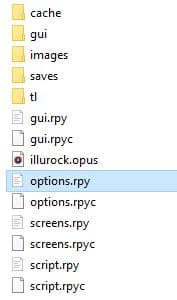
In the ancient versions of Renpy, the console was activated by default in the <game_root_folder>/game/options.rpy file.

As soon as you have located this file, open the options.rpy file with your favorite text editor and look for the following variable:
$ config.console = True # That means that the console is activatedIf you would like to turn off the config console for some reason, then you just have to edit this variable to:
$ config.console = False # That means that the console is desactivatedLast versions (Ren’Py 7.x+)
In the last versions of Ren’Py, the config console is managed differently.
If you want to know how to proceed, then our next point will give you an answer.
Activate/Deactivate the Config Console
In the last versions of Ren’Py, the console is no more displayed in the options.rpy but still activated by default.
That means that if you are still working on your game, then that’s okay, and you will probably don’t need to deactivate it.
But if you would like to try out without this one being deactivated, then you can add these lines in your options.rpy or any other custom Renpy’ screen.
define config.developer = False #Turn off the developer mode (all tools)
define config.console = False #Turn off the developer console
Be aware that just deactivating the config console will not be enough to disable it entirely.
If you want to remove it altogether, then you have to add both lines of codes to your Ren’Py’ screen.
And as soon as you need to bring it back to the console, you can either remove these lines or edit them like below.
define config.developer = True #turn on the developer mode (all tools)
define config.console = True #turn on the developer console
Open the Console Prompt Directly in a Game
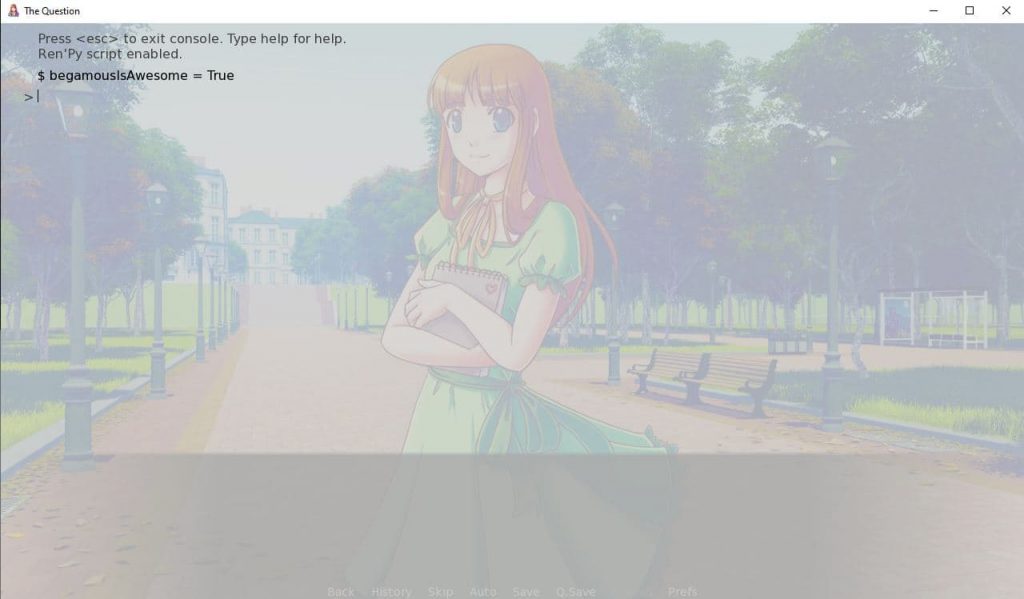
Now that you have correctly activated the config console, you have to launch your project with the Ren’Py game engine and press on SHIFT+O while the game is running.
For this example, we have launched The Question, a free and open-source game provided by Renpy.
You should see a screen like this appear when you press on in your game.

There, you should now be able to assign new values to your variables.
If you took a closer look at The Question’s code, then you should see these variables available in the script.rpy file.
define s = Character(_("Sylvie"), color="#c8ffc8") #Define the displayed name of Sylvie
define m = Character(_("Me"), color="#c8c8ff") #Define the displayed name of the MC
So the MC is called “Me”, that’s something that you would like to change, and that’s really easy to do.
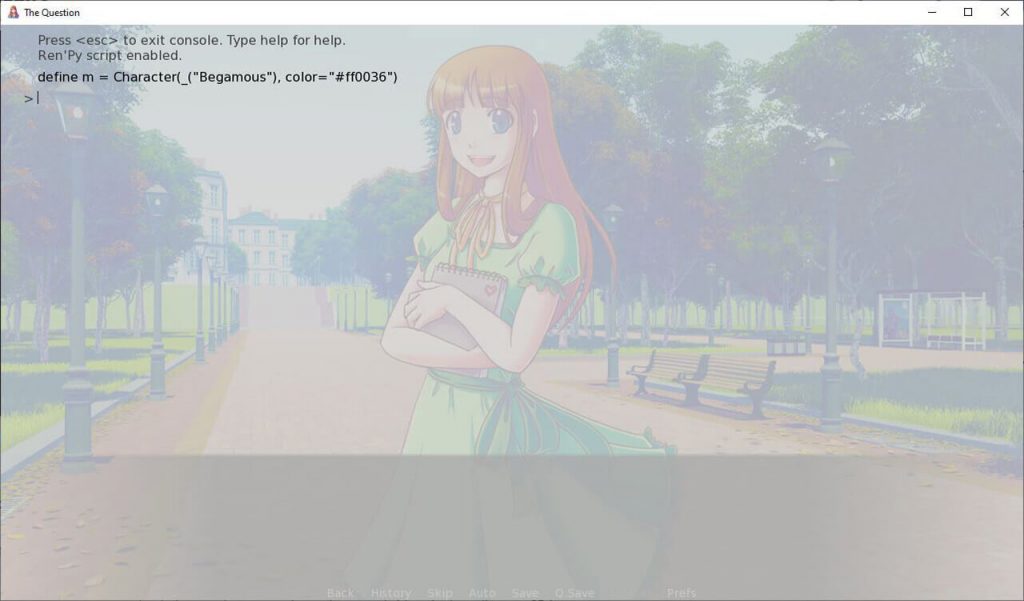
Edit the following lines with your character name like we did for our Begamous character and give him a HEX color.
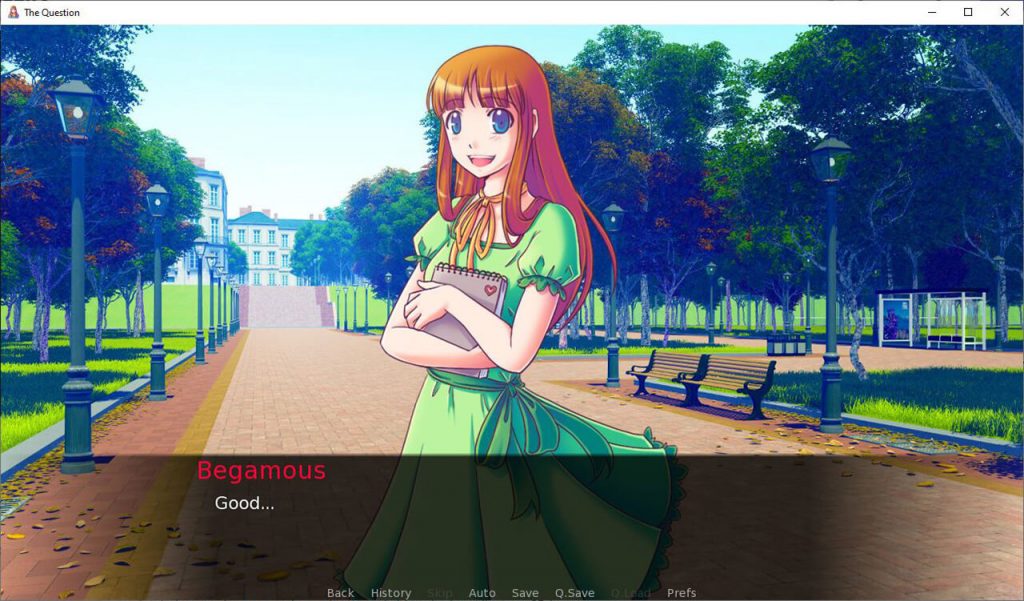
In this case, we simply renamed the “Me” character by the “Begamous” character with a new attributed color.
define s = Character(_("Sylvie"), color="#c8ffc8") #Define the displayed name of Sylvie
define m = Character(_("Begamous"), color="#ff0036") #Define the displayed name of the MC
Here’s how you can apply this edit in-game:

Don’t forget to press ENTER to validate your change, then press ESC to return to the main game.

Really simple right?
And the best is that you can also use it after enabling the console even for compiled Ren’Py games, which is helpful to cheat.
Alternatively, you can also activate the developer menu that will trigger the console automatically simultaneously.
That’s all you need to know to open the console in Renpy.
If you have any suggestions or questions that you would like to ask, let me a comment below, and I’ll try to answer at my best!
And if it helps you a bit, feel free to share it with your community!
Thank you for reading!


